
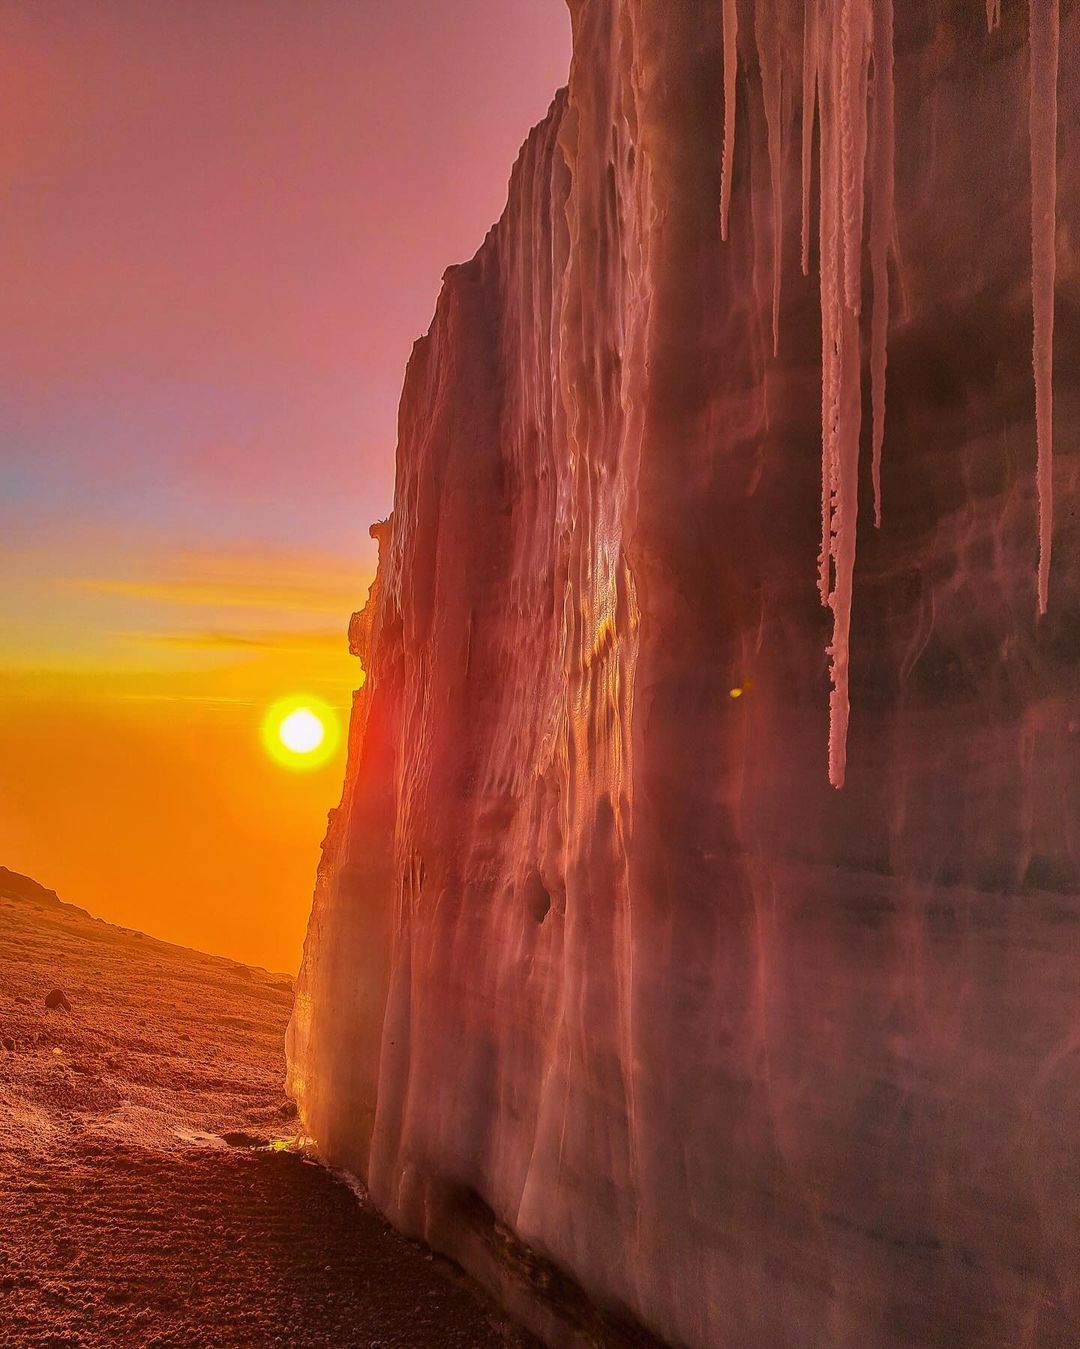
Mount Kilimanjaro Trekking Routes
Full itineraries and a route-by-route guide to climbing the Roof of Africa — Uhuru Peak, 5,895 m.
Summit
Uhuru Peak — 5,895 m (19,341 ft)
Gateway Town
Moshi / Arusha
Best Months
Jan–mid-March & June–October
Routes Covered
7 established routes
Mount Kilimanjaro is the highest mountain in Africa and the tallest free-standing mountain in the world, rising to Uhuru Peak at 5,895 m (19,341 ft). It is a non-technical "walk-up" summit — no ropes, ice axes or climbing experience are required on the standard routes — which makes the Roof of Africa achievable for any reasonably fit trekker who takes acclimatisation seriously.
There are seven established routes to the summit. They differ in length, scenery, difficulty, foot traffic, the direction they approach the mountain from, and how well they let your body adjust to altitude. This guide covers all seven with full day-by-day itineraries so you can choose the climb that fits you.
Every climb with African Dreamscapes is led by licensed, experienced mountain guides and supported by professional porter and cook teams, with a strong focus on safety and gradual acclimatisation. Many trekkers pair their climb with a Tanzania safari or a Zanzibar beach extension.
Quick Route Comparison
| Route | Days | Difficulty | Scenery | Traffic | Approach | Sleeping | Acclimatisation |
|---|---|---|---|---|---|---|---|
| Machame | 7 | Moderate–hard | Excellent | High | South | Tents | Very good (climb high, sleep low) |
| Marangu | 6 | Moderate | Good | High | Southeast | Huts | Fair (steep profile, short) |
| Lemosho | 8 | Moderate | Outstanding | Low–moderate | West | Tents | Excellent |
| Rongai | 7 | Moderate | Good, remote | Low | North | Tents | Good |
| Northern Circuit | 9 | Moderate | Outstanding, 360° | Very low | West → North | Tents | Best of all routes |
| Umbwe | 6 | Hard | Excellent | Very low | South | Tents | Poor (steep, fast) |
| Shira | 8 | Moderate–hard | Excellent | Low | West | Tents | Fair (starts very high) |
Rule of thumb: more days on the mountain = better acclimatisation = higher summit success. The 7–9 day routes (Lemosho, Northern Circuit, 7-day Machame) give the strongest chance of reaching Uhuru Peak.
The Five Climate Zones
Because of its equatorial location and enormous height, Kilimanjaro passes through five distinct ecological zones — you effectively walk from the tropics to the Arctic in a matter of days.
| Zone | Altitude | Character |
|---|---|---|
| Cultivation / Bushland | 800–1,800 m | Farmland and villages on the lower slopes |
| Montane Rainforest | 1,800–2,800 m | Lush, humid forest; monkeys, birds, waterfalls |
| Heath & Moorland | 2,800–4,000 m | Giant heather, lobelias and groundsels; open views |
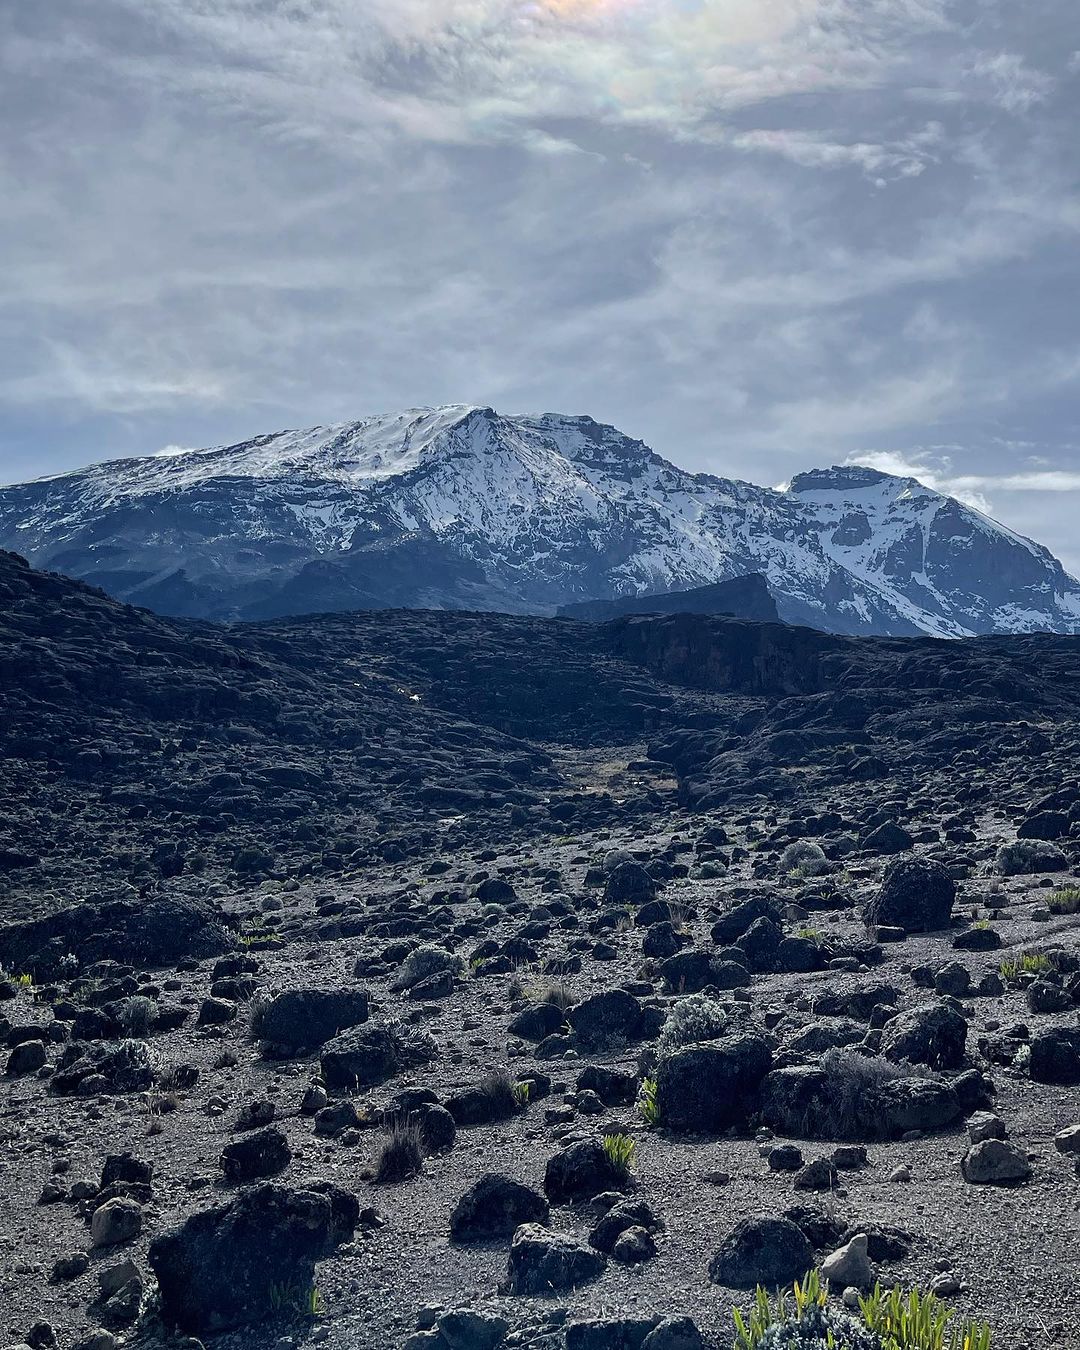
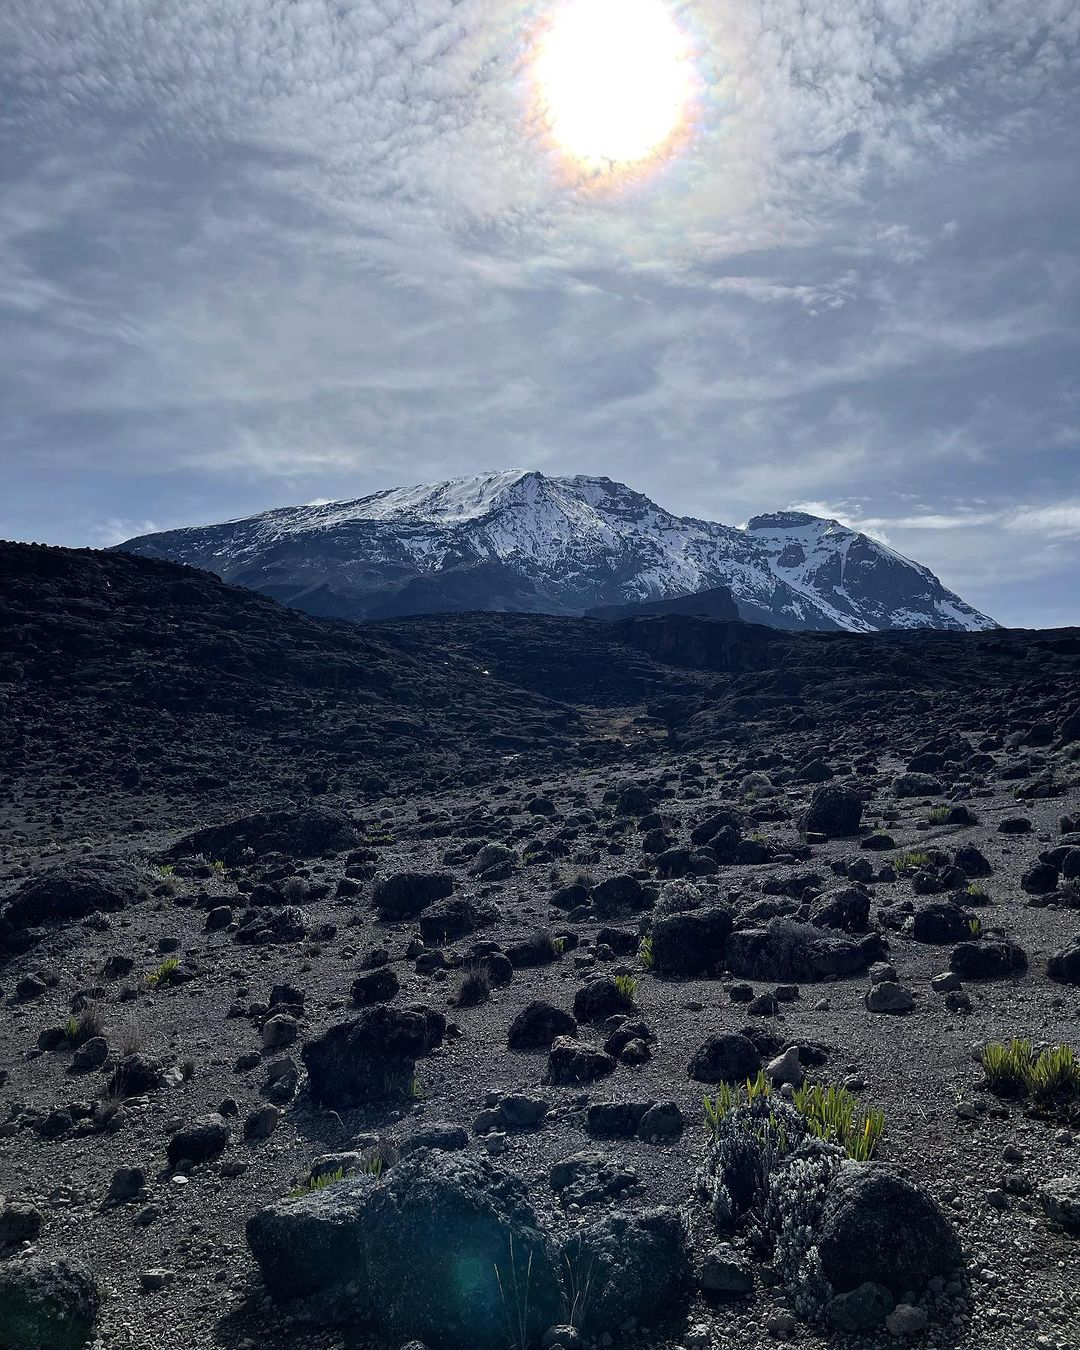
| Alpine Desert | 4,000–5,000 m | Barren, rocky, huge temperature swings |
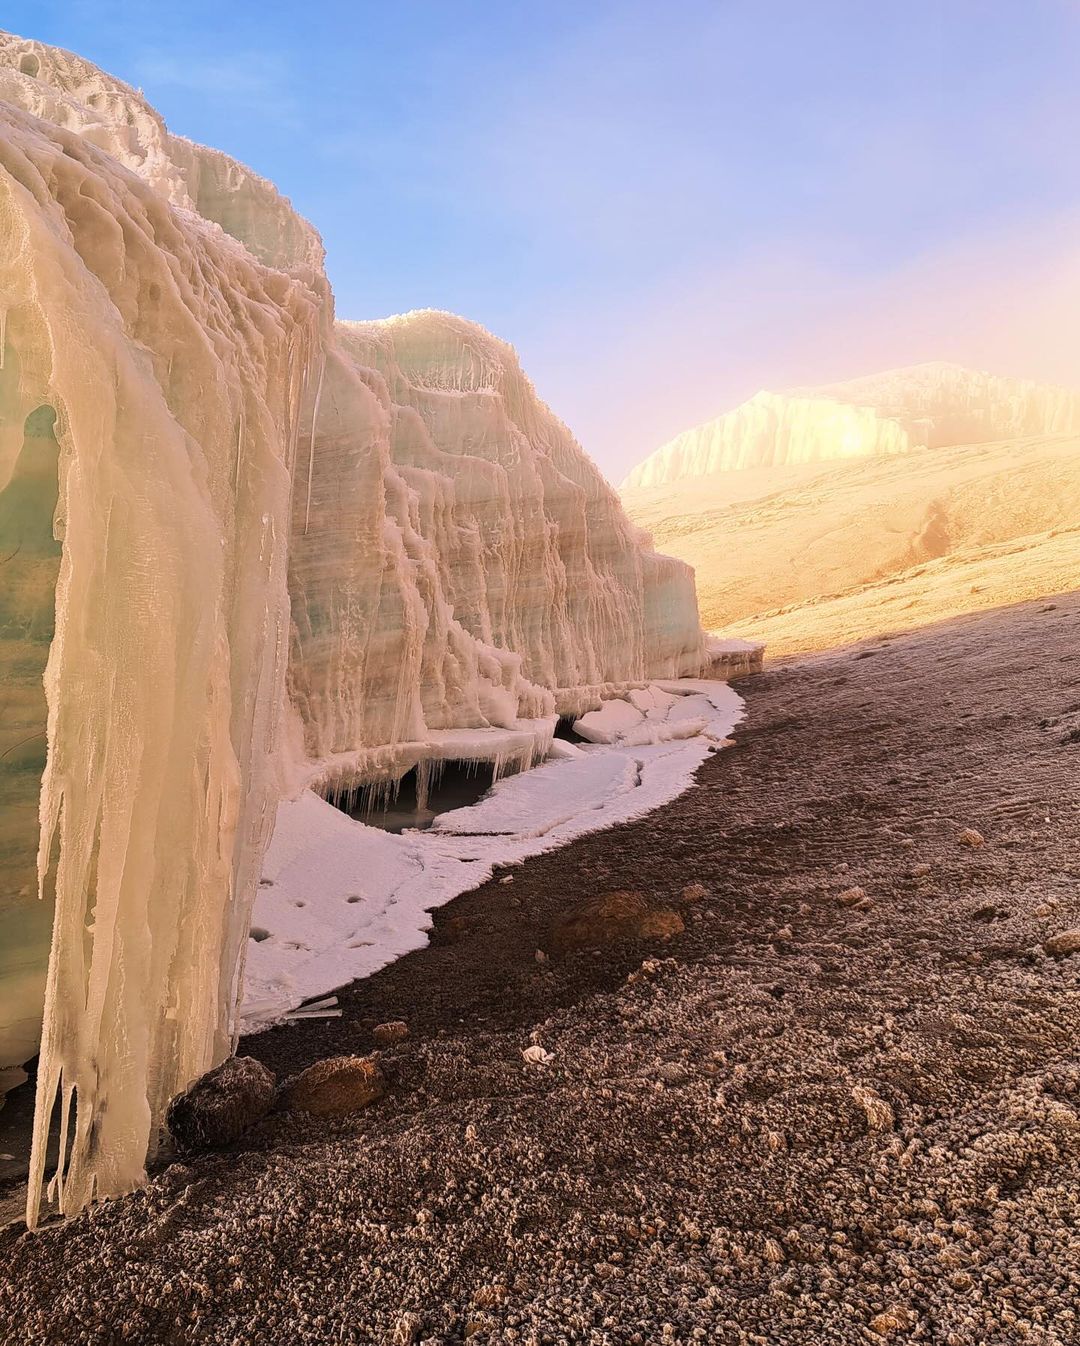
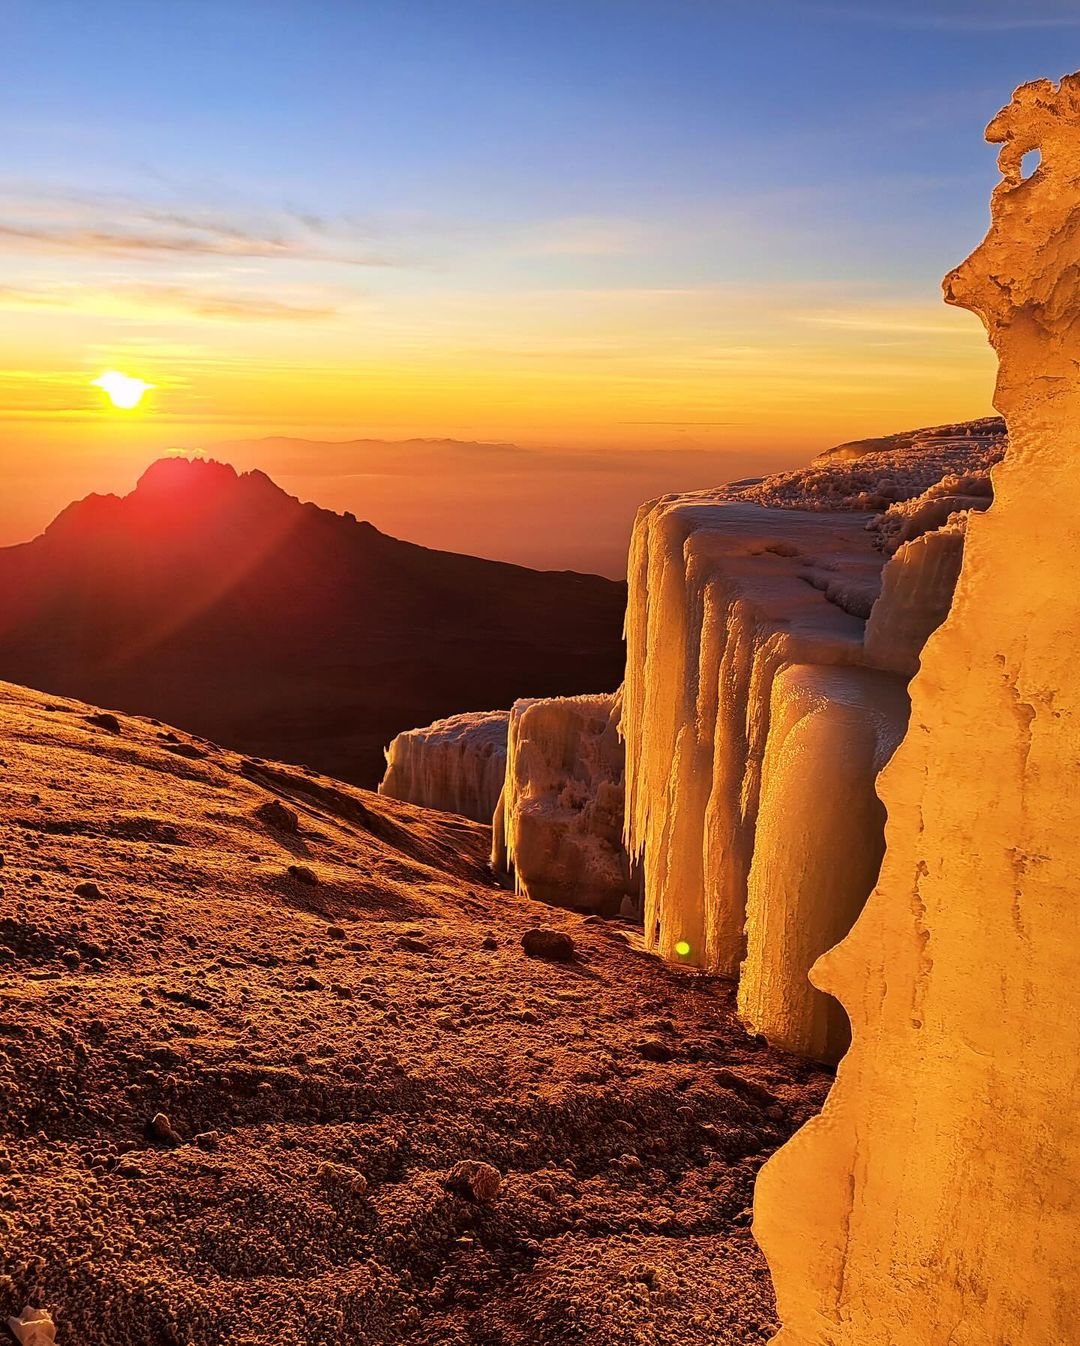
| Arctic / Summit | 5,000–5,895 m | Ice, glaciers, thin air, scree |
Machame Route
“Whiskey Route” 7 DaysThe most popular camping route and, for many trekkers, the best all-round choice. It is scenically superb, has an excellent "climb high, sleep low" acclimatisation profile, and rewards effort with variety — rainforest, the Shira Plateau, the Lava Tower, the famous Barranco Wall and dramatic glacier views near the summit. It is busier than the western routes but the 7-day version has a very strong success rate.
Book This RouteMachame Gate (1,800 m) → Machame Camp (2,835 m)
Distance ~11 km · 5–7 hours · Montane rainforest
Register at the gate and climb a forest trail through dense, dripping jungle. The first night is spent at the edge of the forest.
Machame Camp → Shira Camp 2 (3,850 m)
Distance ~5 km · 4–6 hours · Moorland
A steeper morning climb out of the forest into open moorland, with the first clear views of Kibo and across to Mount Meru.
Shira 2 → Lava Tower (4,600 m) → Barranco Camp (3,960 m)
Distance ~10 km · 6–8 hours · Alpine desert
The key acclimatisation day: you climb to the Lava Tower at 4,600 m for lunch, then descend to Barranco Camp — climbing high and sleeping low to help your body adjust.
Barranco Camp → Barranco Wall → Karanga Camp (3,995 m)
Distance ~5 km · 4–5 hours
The day begins with the Barranco Wall, a fun non-technical scramble that looks intimidating from below but is straightforward. Views open across the Karanga Valley.
Karanga Camp → Barafu Camp (4,640 m)
Distance ~4 km · 4–5 hours · Alpine desert
A shorter push to Barafu, the base camp for the summit. Rest, eat and sleep early — you will wake around midnight.
Barafu → Stella Point (5,756 m) → Uhuru Peak (5,895 m) → Mweka Camp (3,100 m)
Distance ~5 km up, ~12 km down · 12–16 hours
A midnight start under head-torches up long scree slopes to the crater rim at Stella Point, then along the rim to Uhuru Peak for sunrise. After summit photos you descend all the way to Mweka Camp to sleep in thicker air.
Mweka Camp → Mweka Gate (1,640 m)
Distance ~10 km · 3–4 hours
A final descent through rainforest to the gate, where you receive your summit certificate.
Marangu Route
“Coca-Cola Route” 6 DaysThe oldest and best-known route, and the only one with permanent hut accommodation (dormitory-style, with mattresses). You ascend and descend on the same path. It is often marketed as the "easy" route, but its shorter, steeper profile actually gives it a lower success rate than the longer camping routes. The 6-day version with an acclimatisation day is strongly recommended over the rushed 5-day version.
Book This RouteMarangu Gate (1,860 m) → Mandara Hut (2,700 m)
Distance ~8 km · 4–5 hours · Rainforest
A gentle forest walk to the A-frame Mandara huts. A short side trip to the Maundi Crater rewards you with views toward Kenya.
Mandara Hut → Horombo Hut (3,720 m)
Distance ~12 km · 6–8 hours · Moorland
The forest gives way to open moorland with giant lobelias and groundsels, and the twin peaks of Kibo and Mawenzi come into view.
Acclimatisation day at Horombo Hut (3,720 m)
3–4 hours
An extra night at Horombo with a day-hike toward the Zebra Rocks and the Mawenzi base (~4,000 m), returning to sleep low. This day is the single biggest boost to your summit chances on this route.
Horombo Hut → Kibo Hut (4,700 m)
Distance ~10 km · 6–8 hours · Alpine desert
You cross "The Saddle," the high-altitude desert between Mawenzi and Kibo, to reach Kibo Hut. Rest early for the midnight start.
Kibo Hut → Gilman's Point (5,681 m) → Uhuru Peak (5,895 m) → Horombo Hut (3,720 m)
12–15 hours
A midnight ascent up steep scree to Gilman's Point on the crater rim, then around to Uhuru Peak. After summiting you descend all the way back to Horombo for the night.
Horombo Hut → Marangu Gate (1,860 m)
Distance ~20 km · 5–6 hours
A long but downhill walk back through moorland and forest to the gate and your certificate.
Lemosho Route
8 DaysWidely regarded as the most beautiful route on the mountain and one of the best for acclimatisation and success. It starts in the west, crosses the remote Shira Plateau, and then joins the Machame trail for the southern-circuit approach to the summit. Low early traffic, superb scenery and a generous profile make this African Dreamscapes' recommended route for most trekkers.
Book This RouteLondorossi Gate (2,100 m) → Mti Mkubwa / Big Tree Camp (2,780 m)
Distance ~6 km · 3–4 hours · Rainforest
A short drive to the trailhead, then a quiet forest walk where buffalo, colobus monkeys and blue monkeys are sometimes seen.
Mti Mkubwa → Shira 1 Camp (3,610 m)
Distance ~8 km · 5–6 hours · Moorland
You leave the forest and climb onto the western rim of the Shira Plateau, an ancient collapsed caldera.
Shira 1 → Shira 2 Camp (3,850 m)
Distance ~11 km · 5–7 hours · Moorland / plateau
A gentle crossing of the vast Shira Plateau with Kibo dominating the skyline ahead.
Shira 2 → Lava Tower (4,600 m) → Barranco Camp (3,960 m)
Distance ~10 km · 6–8 hours · Alpine desert
The climb-high-sleep-low acclimatisation day, ascending to the Lava Tower before dropping into the Barranco Valley.
Barranco Camp → Barranco Wall → Karanga Camp (3,995 m)
Distance ~5 km · 4–5 hours
The scramble up the Barranco Wall, then across ridges and valleys to Karanga.
Karanga Camp → Barafu Camp (4,640 m)
Distance ~4 km · 4–5 hours · Alpine desert
A short leg to summit base camp; rest and prepare.
Barafu → Stella Point (5,756 m) → Uhuru Peak (5,895 m) → Mweka Camp (3,100 m)
Distance ~5 km up, ~12 km down · 12–16 hours
The midnight summit push to Uhuru Peak for sunrise, then the long descent to Mweka.
Mweka Camp → Mweka Gate (1,640 m)
Distance ~10 km · 3–4 hours
Descent through the rainforest and certificate collection.
Rongai Route
7 DaysThe only route that approaches Kilimanjaro from the north, close to the Kenyan border. It is drier than the southern routes (a good choice in the wetter months), the quietest of the popular routes, and has a genuine wilderness feel with a real chance of spotting wildlife on the lower slopes. It descends via the Marangu route on the far side.
Book This RouteRongai / Nalemuru Gate (1,950 m) → Simba Camp (2,650 m)
Distance ~8 km · 3–4 hours · Forest
A gentle climb through pine forest and farmland on the northern flank.
Simba Camp → Second Cave (3,450 m)
Distance ~6 km · 3–4 hours · Moorland
Steady climbing with expanding views of Kibo's eastern icefields.
Second Cave → Kikelewa Cave (3,600 m)
Distance ~9 km · 5–6 hours · Moorland
The trail turns toward the jagged spires of Mawenzi across open moorland.
Kikelewa → Mawenzi Tarn Camp (4,330 m)
Distance ~6 km · 4–5 hours · Alpine
A steep climb to a beautiful camp beside a tarn in a cirque beneath Mawenzi's cliffs. Afternoon acclimatisation walk.
Mawenzi Tarn → Kibo Hut (4,700 m)
Distance ~9 km · 5–6 hours · Alpine desert
Cross "The Saddle" to join the Marangu trail at Kibo Hut. Rest early.
Kibo Hut → Gilman's Point (5,681 m) → Uhuru Peak (5,895 m) → Horombo Hut (3,720 m)
12–15 hours
The midnight summit ascent to Gilman's Point and on to Uhuru Peak, then a long descent down the Marangu side to Horombo.
Horombo Hut → Marangu Gate (1,860 m)
Distance ~20 km · 5–6 hours
Final descent through moorland and forest to the gate.
Northern Circuit Route
9 DaysThe newest and longest route, and the one with the highest summit success rate thanks to its unrivalled acclimatisation. It follows the Lemosho start, then loops around the quiet northern slopes of the mountain — the only route that circles nearly the whole massif, giving 360° views and almost no crowds. Ideal if you want the best odds, the most solitude and time to enjoy the journey.
Book This RouteLondorossi Gate (2,100 m) → Mti Mkubwa (2,780 m)
Distance ~6 km · 3–4 hours · Rainforest
Mti Mkubwa → Shira 1 Camp (3,610 m)
Distance ~8 km · 5–6 hours · Moorland
Shira 1 → Shira 2 Camp (3,850 m)
Distance ~11 km · 5–7 hours · Plateau
Shira 2 → Lava Tower (4,600 m) → Moir Hut (4,200 m)
Distance ~10 km · 5–7 hours · Alpine desert
Ascend to the Lava Tower, then branch north to the secluded Moir Hut in a valley below the Lent Hills.
Moir Hut → Buffalo Camp (4,020 m)
Distance ~12 km · 5–7 hours · Alpine desert
An optional climb of the Lent Hills for acclimatisation, then a traverse onto the remote northern slopes.
Buffalo Camp → Rongai Third Cave (3,950 m)
Distance ~8 km · 5–6 hours
Rounding the north side of the mountain with wide, empty views toward Kenya.
Third Cave → School Hut (4,800 m)
Distance ~5 km · 4–5 hours · Alpine desert
A steady climb to summit base camp on the eastern side. Rest early.
School Hut → Gilman's Point (5,681 m) → Uhuru Peak (5,895 m) → Millennium Camp (3,820 m)
12–16 hours
The midnight ascent to the crater rim and Uhuru Peak, then a long descent to Millennium Camp.
Millennium Camp → Mweka Gate (1,640 m)
Distance ~12 km · 4–5 hours
Final descent through moorland and rainforest to the gate.
Umbwe Route
6 DaysThe steepest, most direct and most demanding route — a wild, quiet and beautiful climb best suited to fit, experienced trekkers who already acclimatise well. Because it gains height so quickly, its acclimatisation profile is the weakest of all routes, so it should not be a first high-altitude experience. It joins the southern circuit at Barranco.
Book This RouteUmbwe Gate (1,600 m) → Umbwe Camp (2,940 m)
Distance ~11 km · 5–7 hours · Rainforest
A steep climb up a forested ridge between two rivers.
Umbwe Camp → Barranco Camp (3,960 m)
Distance ~6 km · 4–6 hours · Moorland to alpine
A demanding day gaining height quickly onto open ground, reaching the Barranco Valley.
Barranco Camp → Barranco Wall → Karanga Camp (3,995 m)
Distance ~5 km · 4–5 hours
The scramble up the Barranco Wall and on to Karanga — a valuable near-level day for adjusting.
Karanga Camp → Barafu Camp (4,640 m)
Distance ~4 km · 4–5 hours · Alpine desert
A short leg to summit base camp; rest early.
Barafu → Stella Point (5,756 m) → Uhuru Peak (5,895 m) → Mweka Camp (3,100 m)
Distance ~5 km up, ~12 km down · 12–16 hours
The midnight summit push and long descent to Mweka.
Mweka Camp → Mweka Gate (1,640 m)
Distance ~10 km · 3–4 hours
Final forest descent to the gate.
Shira Route
8 DaysA close sibling of the Lemosho route that takes a higher starting point: a vehicle drives you up to around 3,600 m on the Shira Plateau, skipping the first forest day. The scenery is superb, but starting so high means you miss the gentle first-day altitude gain, so an acclimatisation day on the plateau is important. From the plateau it follows the same southern-circuit line as Lemosho and Machame.
Book This RouteLondorossi Gate → drive to Morum Barrier / Shira Gate (3,600 m) → Shira 1 Camp (3,610 m)
Short walk · 2–3 hours · Moorland / plateau
A drive gains most of the day's height; a short walk settles you onto the plateau. Take it easy — you are already high.
Shira 1 → Shira 2 Camp (3,850 m)
Distance ~7 km · 3–4 hours · Plateau
A gentle crossing of the Shira Plateau with an afternoon acclimatisation walk.
Acclimatisation day on the Shira Plateau
3–4 hours
A day-hike toward the Shira Cathedral (~3,870 m) and Shira Needle, returning to camp — key for adjusting after the high start.
Shira 2 → Lava Tower (4,600 m) → Barranco Camp (3,960 m)
Distance ~10 km · 6–8 hours · Alpine desert
Climb high to the Lava Tower, then descend to Barranco.
Barranco Camp → Barranco Wall → Karanga Camp (3,995 m)
Distance ~5 km · 4–5 hours
The Barranco Wall scramble and traverse to Karanga.
Karanga Camp → Barafu Camp (4,640 m)
Distance ~4 km · 4–5 hours · Alpine desert
Short leg to summit base camp.
Barafu → Stella Point (5,756 m) → Uhuru Peak (5,895 m) → Mweka Camp (3,100 m)
Distance ~5 km up, ~12 km down · 12–16 hours
Midnight summit push to Uhuru Peak, then descent to Mweka.
Mweka Camp → Mweka Gate (1,640 m)
Distance ~10 km · 3–4 hours
Final rainforest descent and certificate.
How to Choose Your Route
- •Best overall success + scenery: Lemosho (8 days) or the 7-day Machame.
- •Highest success rate / most acclimatisation: Northern Circuit (9 days).
- •Prefer sleeping in huts, not tents: Marangu (6 days).
- •Want quiet and remote, or climbing in a wetter month: Rongai (7 days) or Lemosho.
- •Fit, experienced and want a challenge: Umbwe (6 days).
- •Short on time but still want the plateau scenery: Shira (8 days).
Whatever the route, the two biggest factors in reaching the summit are taking enough days to acclimatise and walking slowly — pole pole, as the guides say.
Best Time to Climb
Kilimanjaro can be climbed year-round, but the clearest and most comfortable conditions fall in two dry windows:
January to mid-March
Warmer, quieter, often clear mornings; occasional afternoon cloud.
June to October
The long dry season; the most popular and reliable window.
The long rains (April–May) and short rains (November) bring wetter trails and cloudier summits. The Rongai and Marangu routes stay driest in marginal months.
Ready to Choose Your Route?
Every climb with African Dreamscapes is led by experienced, licensed mountain guides and professional porter and cook teams, with a focus on safety, acclimatisation and a genuinely memorable journey to the Roof of Africa.
Contact Us to Build Your Kilimanjaro Itinerary